Report Data by Form Entry
If you choose the Form Entry option, you will enter your sales information directly into an editable web form. System required fields are marked with an asterisk ( * ) and must be populated or you will not be able to submit your report.
|
|
Instructions for Monthly Reporters
How To Manually Enter Report Data
-
Click Reporting | Form Entry.
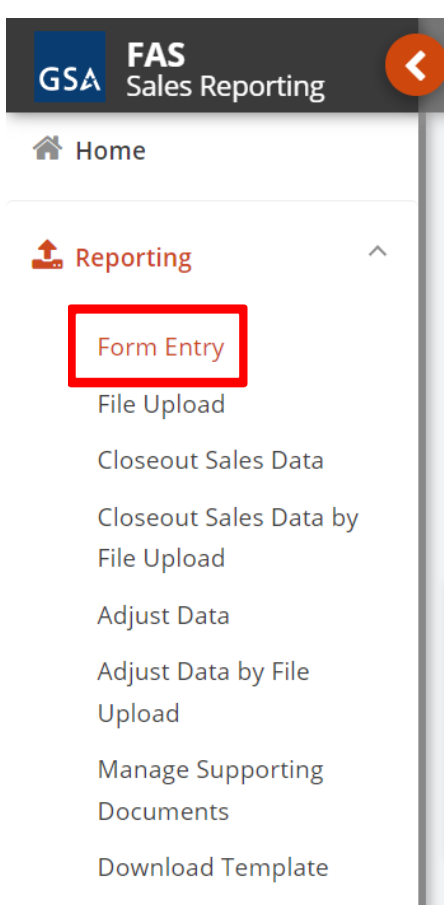
Figure 29: Reporting - Form Entry Button -
Select a Contract from the Contract Number field drop-list.
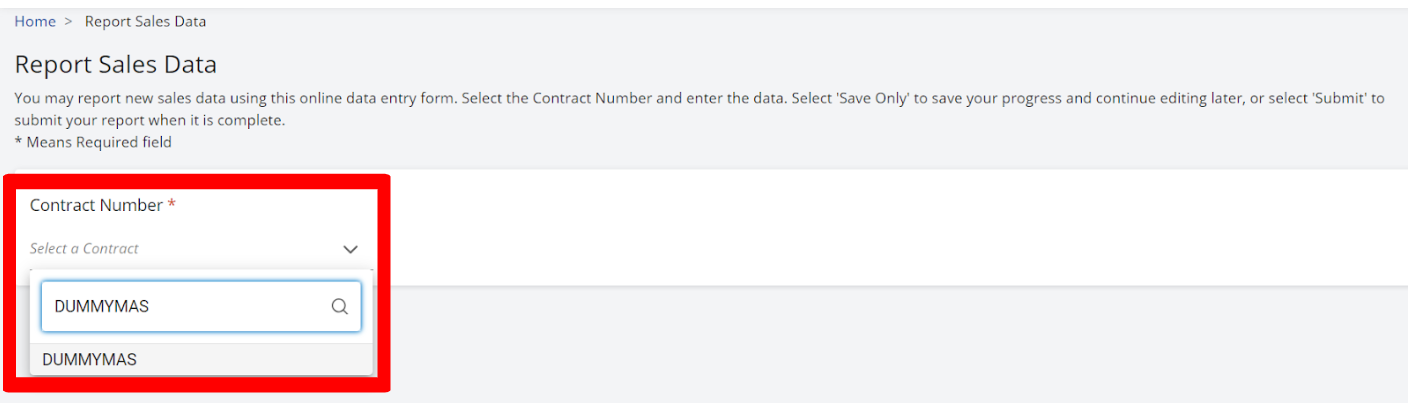
Figure 30: Selecting a Contract from the Contract Number Field The Reporting Period, DUNS, and Schedule fields will automatically populate after the contract is selected.

Figure 31: Reporting Period, DUNS, and Schedule Fields -
Click Yes / No to indicate whether you wish to report 'Zero' sales for the reporting period.

Figure 32: Reporting Zero Sales -
Enter the Task Order or Delivery Order or Product Instrument Identifier (PIID).
-
Click Add Order.

Figure 33: Add Order -
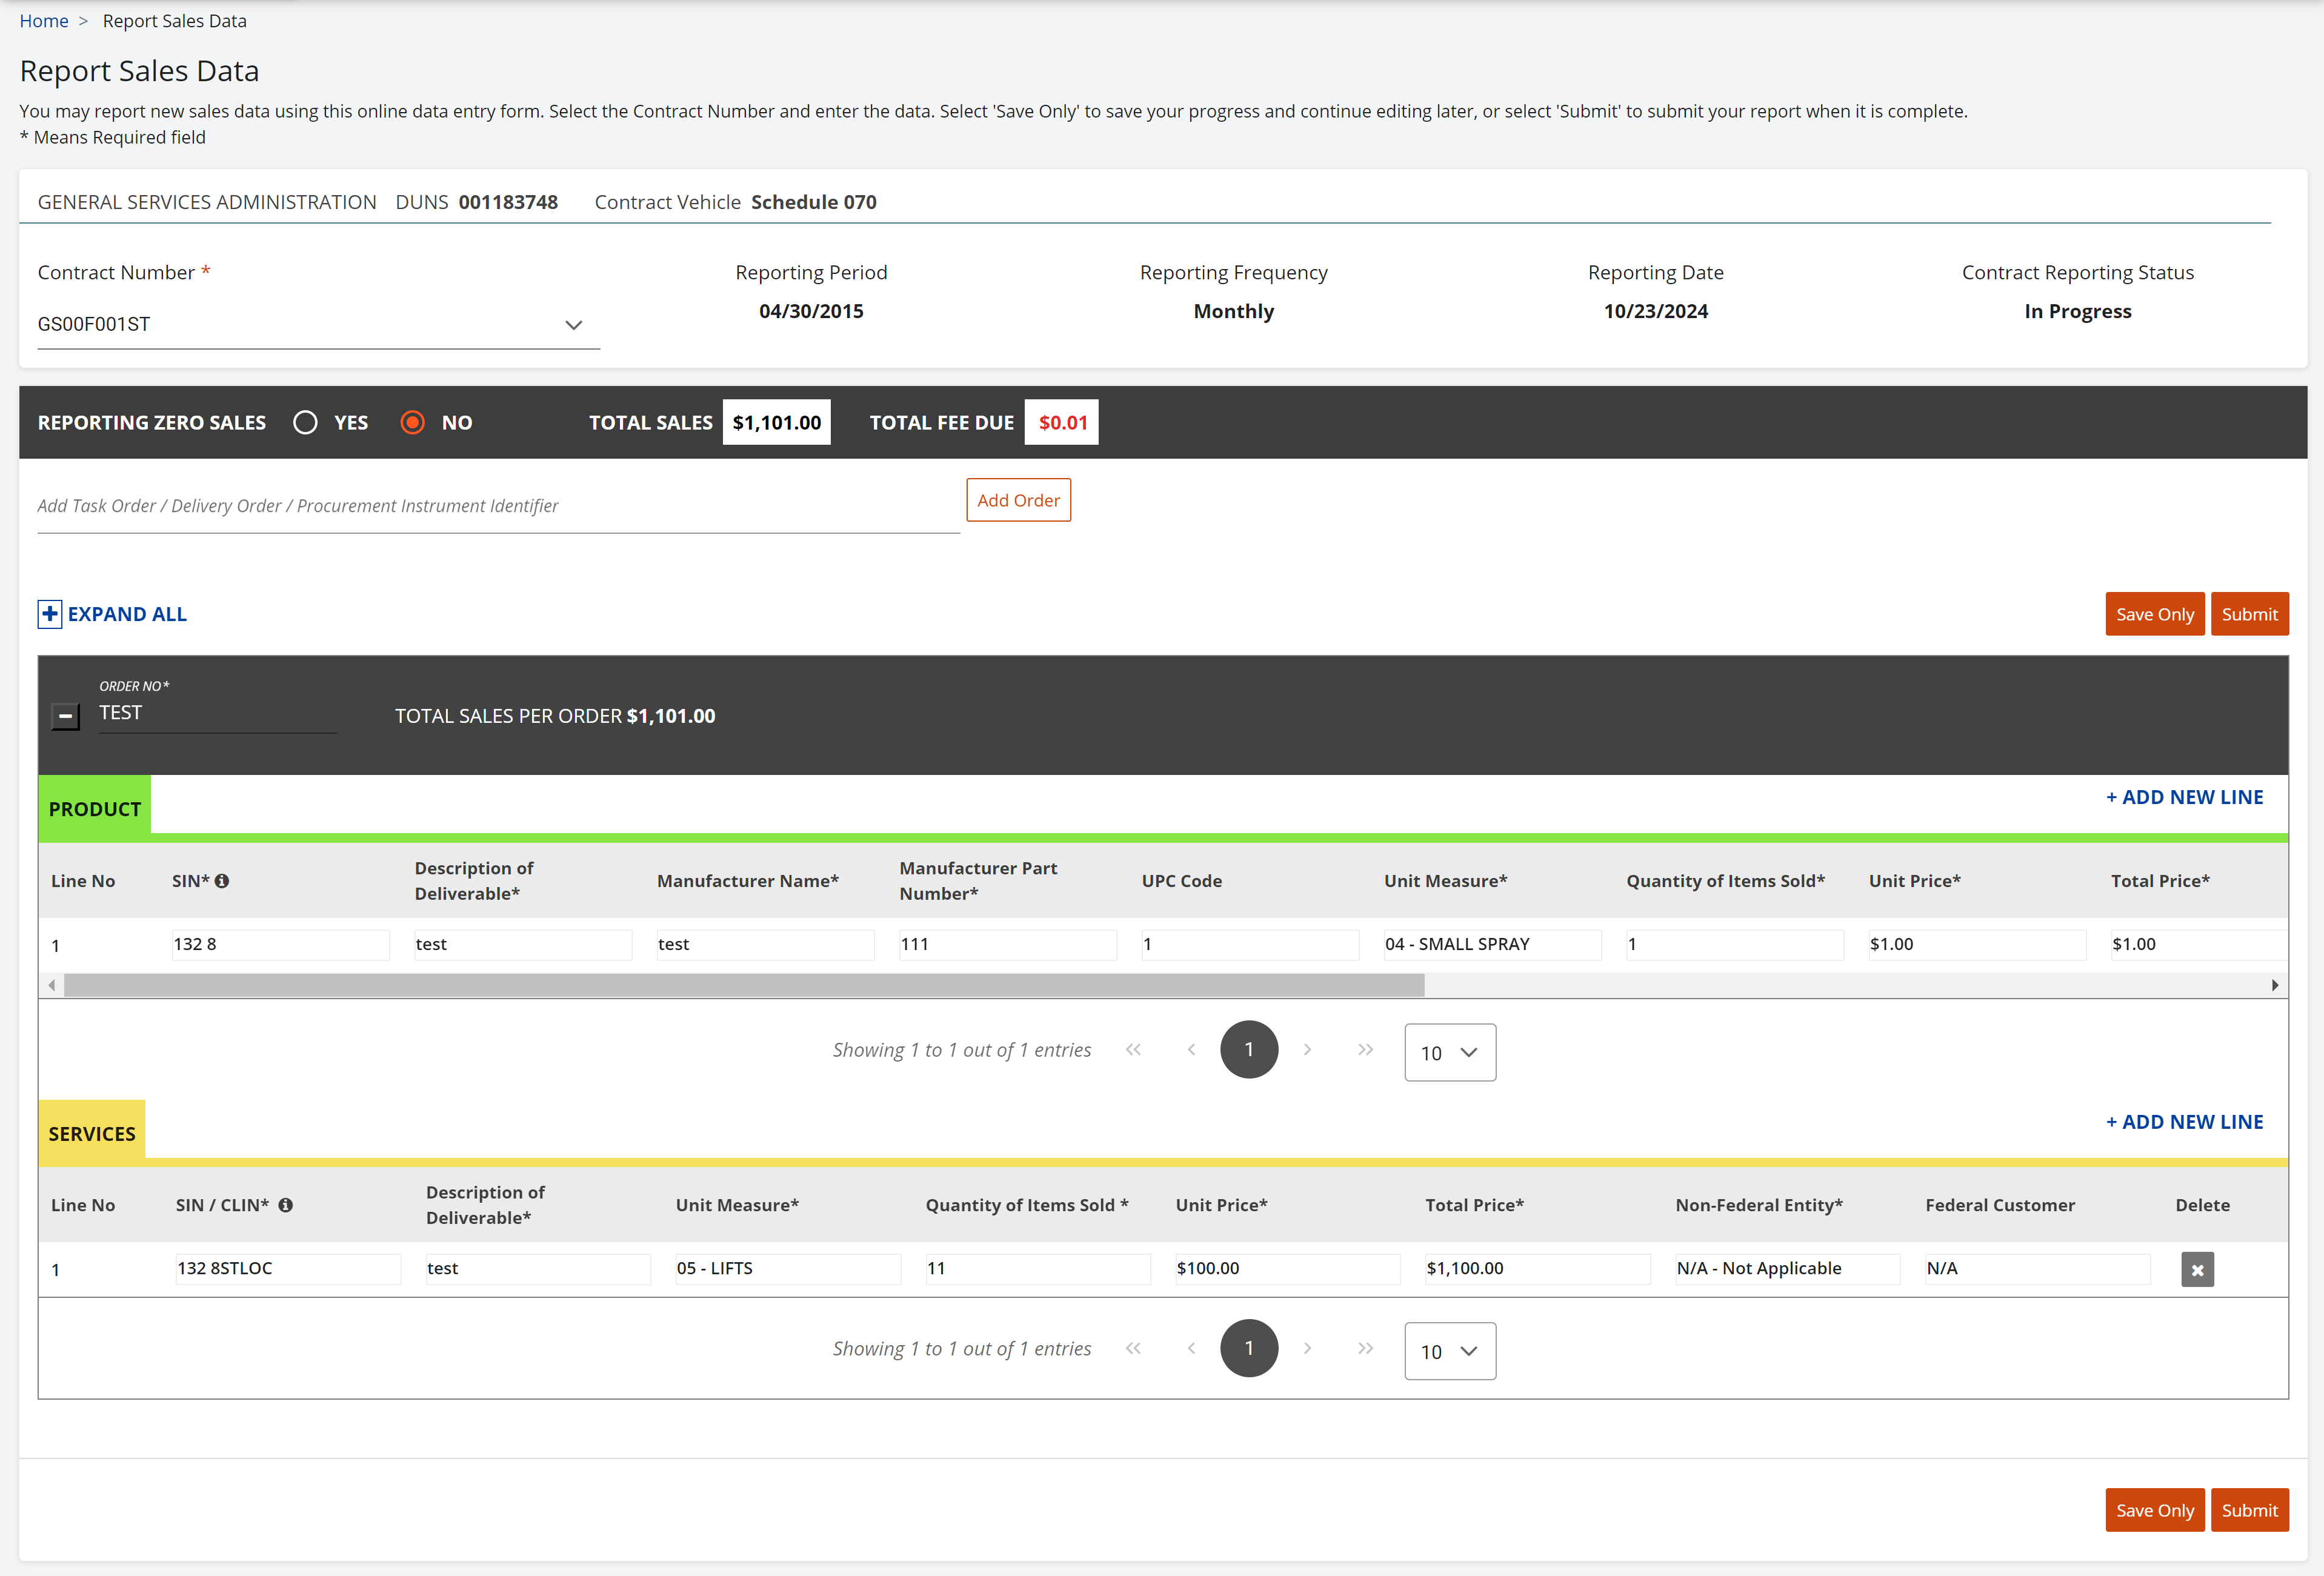
Type the required data in the Order form. You can tab through each field to enter data.
-
Click the + Add New Line to add another line item for an order resulting from the same customer PIID. Continue steps 5 and 6 adding new orders for each PIID until you have entered all data for the reporting period. The system populates Total Sales per order as you complete entering data for each line item
-
Click the Expand All button or the Collapse/Expand arrow
 above the data table to display all of the line entries.
 -
Click Save Only. The System will update the Total Fee Due.
-
Read the Warning message from the popup box.
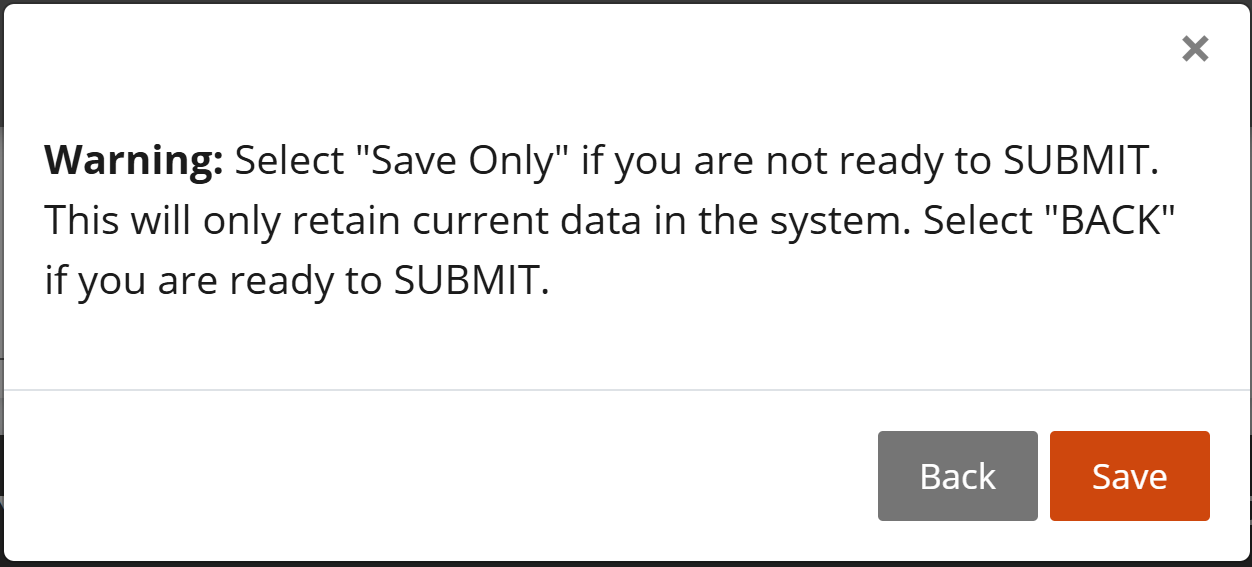
Figure 34: Warning Pop-up -
Click Save to close the confirmation message.

Figure 35: Saved Sales Data
Instructions for Quarterly Reporters
How To Manually Enter Report Data
-
Click Reporting | Form Entry.
-
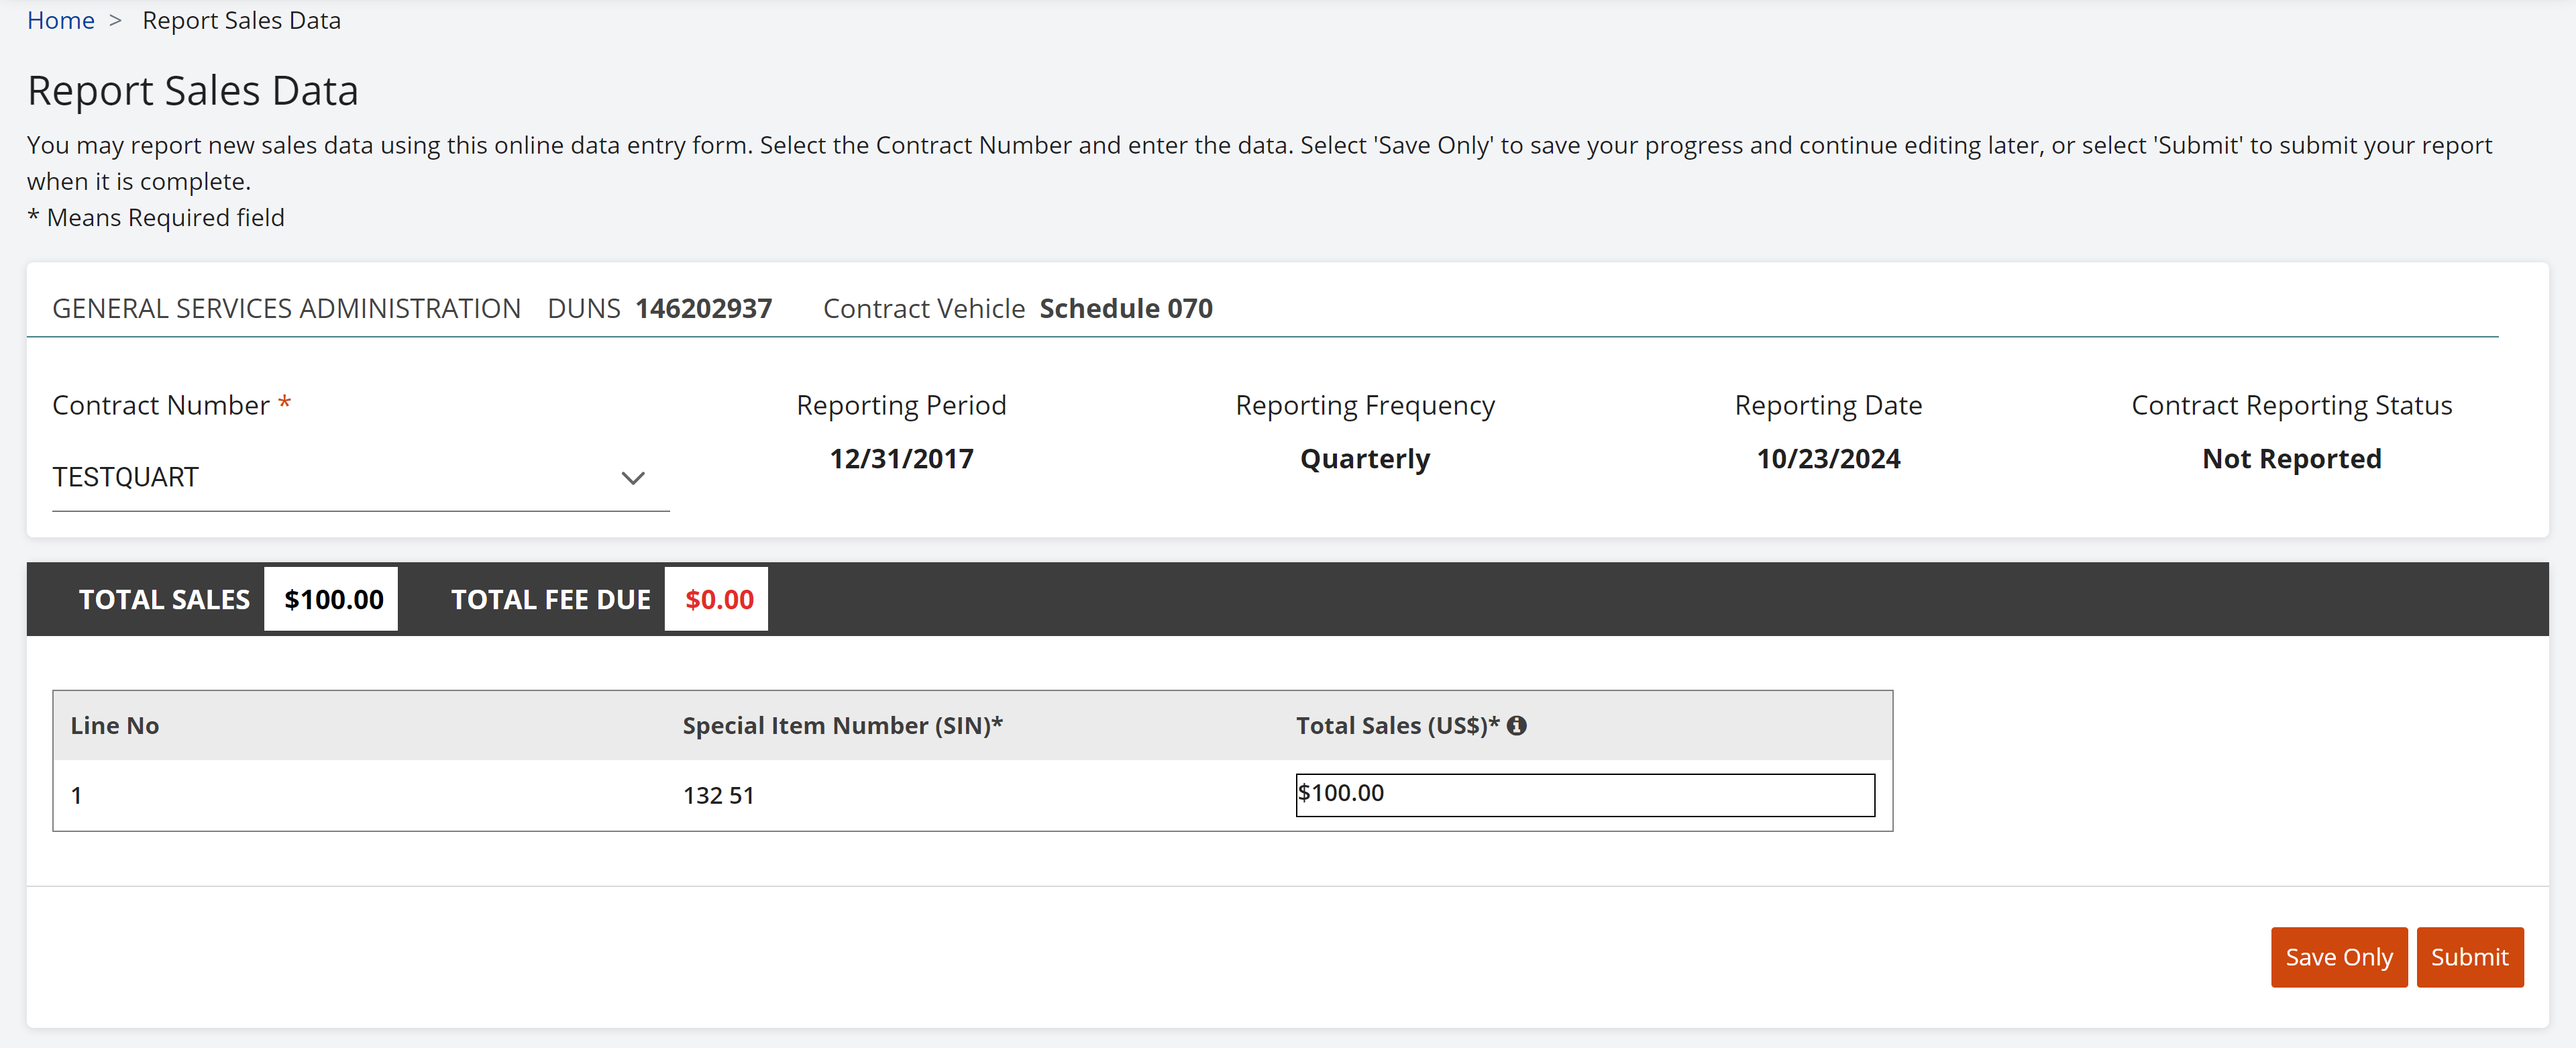
Click the down-arrow to select a Contract from the Contract Number field drop-list. The Reporting Period, DUNS, and Schedule fields will automatically populate after the contract is selected.
-
Enter the Total Sales in USD ($) for each SIN number or line number. The Total Sales must be rounded up or down to the nearest whole number. No decimals are allowed.
-
Click Save Only. The System will update the Total Fee Due.
-
Read the Warning message from the popup box.
Figure 37: Warning Pop-up -
Click Save to close the confirmation message.
Figure 38: Saved Sales Data
How to Retrieve and Submit a Saved Sales Report
-
Click Reporting | Form Entry.
-
Click the down-arrow to select a Contract from the Contract Number field drop-list. The Reporting Period, DUNS, and Schedule fields will automatically populate after the contract is selected.
-
If reporting monthly, add, modify, or delete the line items in the Order table if necessary . Delete line items by clicking the “X” at the end of the line item
You can click “Delete Order,” however, note that doing so will delete all of your order data.
-
Click Submit to transmit the data. A pop up box appears with a certify message.
-
Select the checkbox to affirm the accuracy of the sales data submitted.
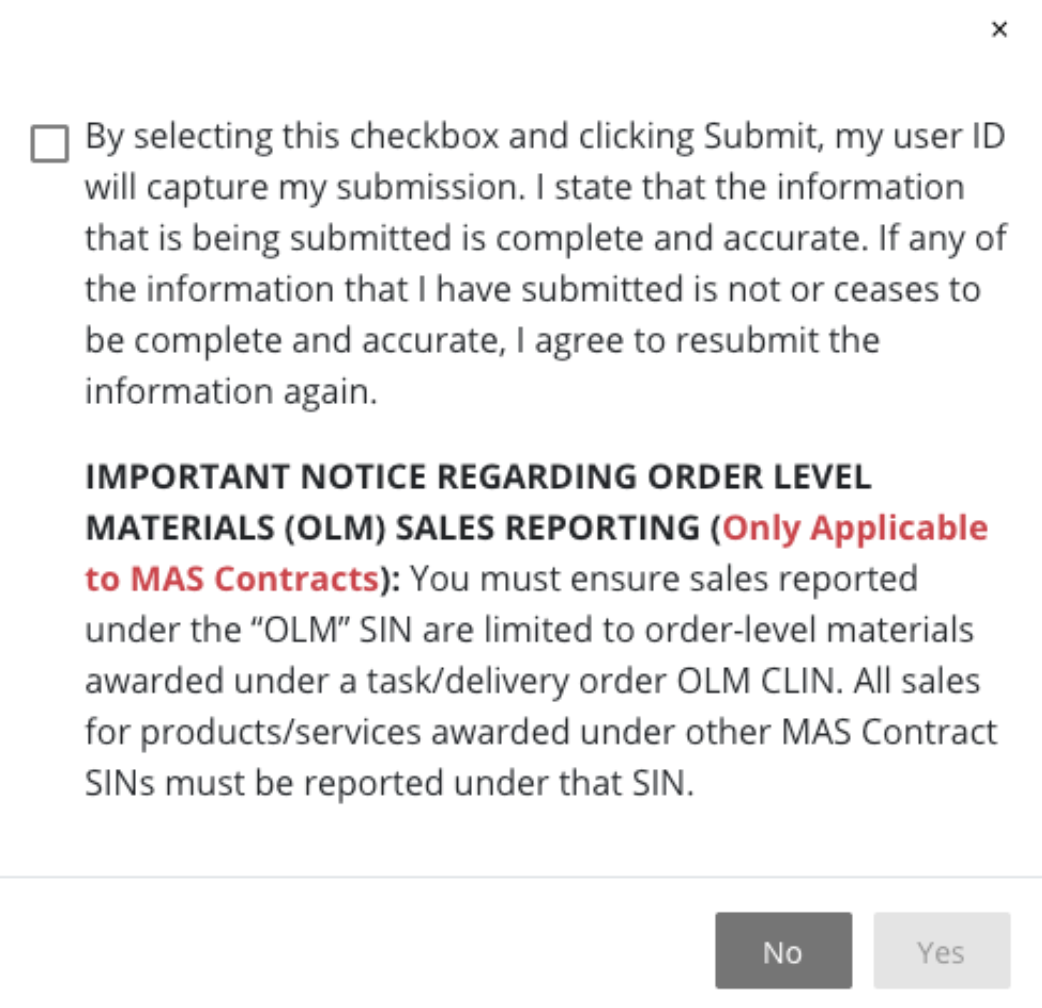
Figure 39: Affirming the Submitted Sales Data -
Click Yes to confirm your submission. A confirmation message appears.
-
Click OK to close the dialog box. The system will navigate you to the Contractor home page with updates to the Contract. The reporting status should be updated to “Submitted”.
